Continuous integration with Jenkins using a Fake build script
Last time we made a Fake build script for an ASP.Net MVC project. I wanted to bring this to the next level and set up continuous integration for the project. I've used TeamCity in the past and it was ok, it did its thing but there was a lot of configuration involved to get a project up and running and the performance was sometimes slower than I expected. So looking for alternatives the first thing I tried was Bitbucket Pipelines but it can apparently only be used for .Net Core projects. I don't think it can run Windows tasks at the moment.
![]()
The next option was Jenkins. I've heard a lot of things from it, some good, some bad. Installing Jenkins is straightforward: there are binaries for the major operating systems, you just pick what you need. For Windows there is an MSI installer. Jenkins is installed as a Windows service whenever you need to restart it you can do it via the Services window. Once installed it is accessible via localhost on port 8080. On the first use you will have the option to create a new user with administrator rights. If you're looking for the password of the pre-installed admin user you can find it in the file C:\Program Files (x86)\Jenkins\secrets\initialAdminPassword.
The build script that I created in the previous post did a lot. It ran grunt, build the solution, ran unit tests, integration tests and created a zip file with the necessary files that were needed to deploy the application. That's a bit much to do on the first try with Jenkins, so let's bring it down to the following steps:
- Build solution
- Run unit tests
In the ideal scenario we want this to run whenever someone pushes a change to the git repository and maybe once every night to make sure we have a solution that builds where all unit tests pass. Let's start with slimming down the existing Fake build script:
// include Fake lib
#r @"packages\FAKE\tools\FakeLib.dll"
open Fake

RestorePackages()

let buildDir = "./build/build/"
let testDir = "./build/test/"

Target "Clean"(fun _ ->
    CleanDir buildDir
    CleanDir testDir
)

Target "BuildApp"(fun _ ->

    !! "./**/*.csproj"
	|> MSBuildRelease buildDir "Build"
	|> Log "AppBuild-Output: "
)

Target "Default" (fun _ ->
    trace "Build script finished"
)

"Clean"
    ==> "BuildApp"
    ==> "Default"

RunTargetOrDefault "Default"
This build script only builds the solution, Jenkins will be running the unit tests for us. Let's dive into Jenkins and configure our application. For some reason the default language was Dutch in my Jenkins installation even though the language of my browser and operating system is English. If you have the same problem you can install the Locale plugin, installing plugins can be done via the Manage Jenkins > Manage Plugins page. Once the plugin is installed you can set a locale on the Manage Jenkins > Configure System page.

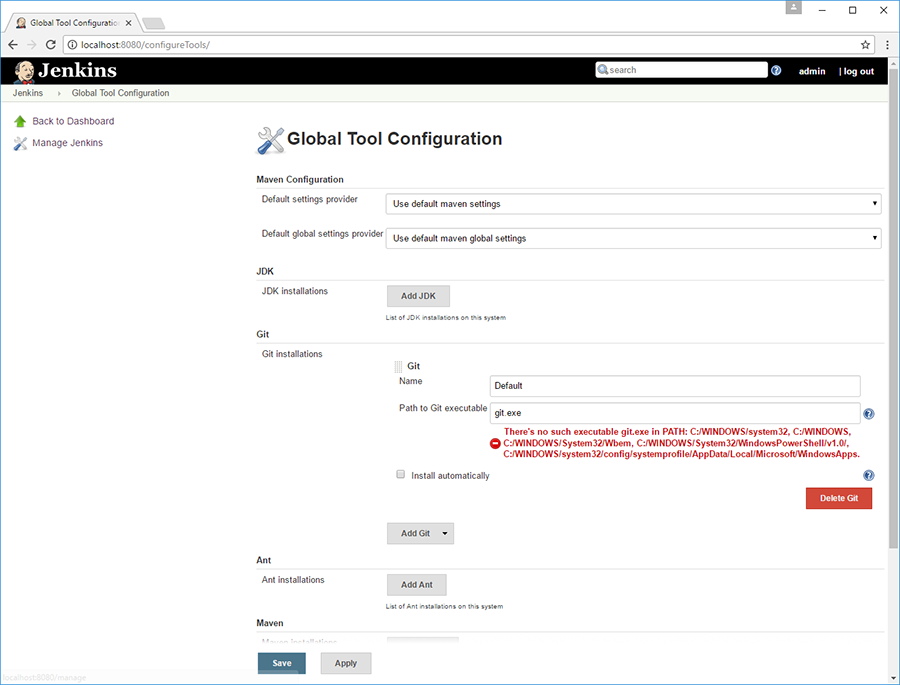
Next we want to make sure that git is properly configured, check if the Git plugin is installed via the Manage Jenkins > Manage Plugins page. Once installed double check git.exe is found by Jenkins, go to the Manage Jenkins > Global Tool Configuration page. If you see the error below it means Jenkins can't find the git executable. Make sure git is installed and then change the path to the correct path where Jenkins can find the git executable.
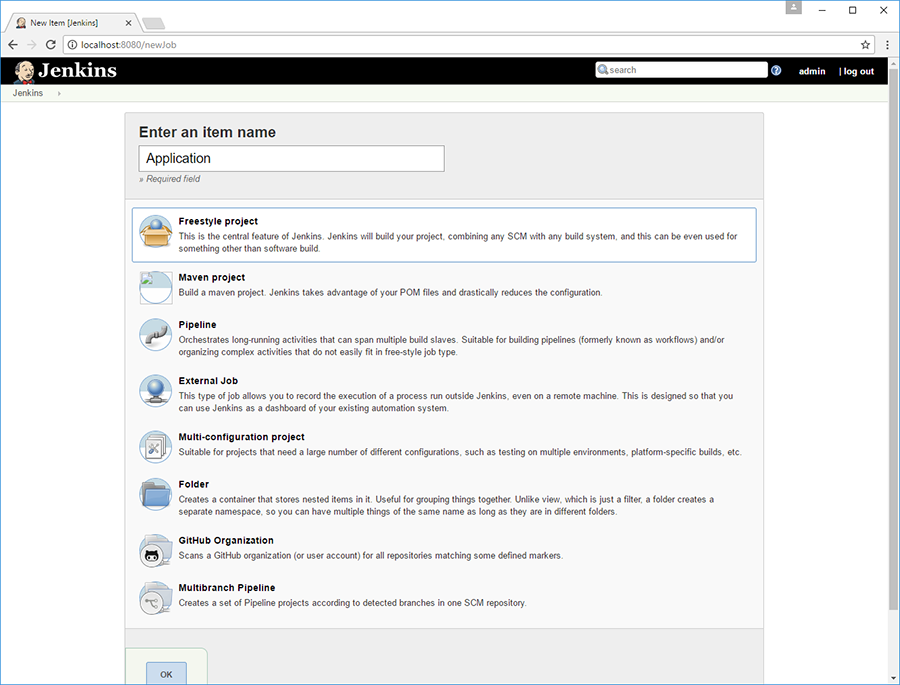
Finally we can start configuring our application. Go to the New Item page via the menu or by going to create new jobs on the homepage. Give your project a name and select the Freestyle project type.
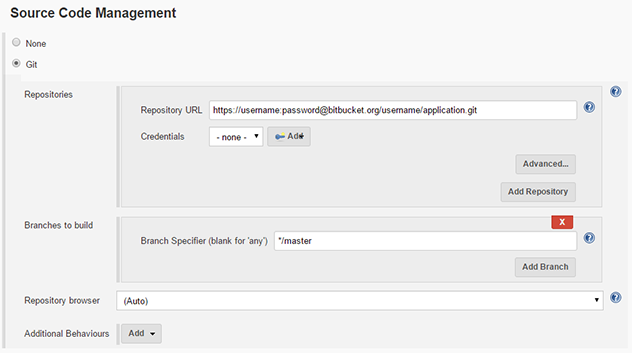
Once the item is created you can start configuring it. Let's complete the Source Code Management section first: fill out the URL of the git repository where Jenkins can check out the source code. I have put my credentials inside the URL, I found that the easiest way although it might not be the best way.
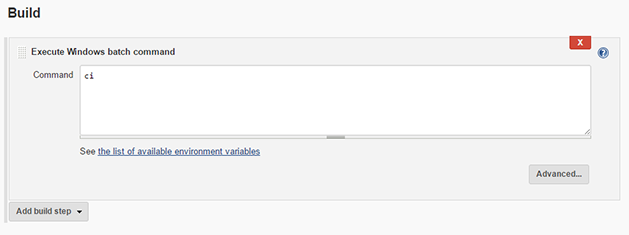
Jenkins can now pull the source code from the git repository. To run the Fake build script I use a small bat-file to check if FAKE is installed and if it's not installed it will restore it via Paket. This is in the ci.bat file:
build\tools\.paket\paket.exe restore
if errorlevel 1 (
	exit /b %errorlevel%
)

"packages\FAKE\tools\Fake.exe" ci.fsx
We add a build step to Jenkins to run this bat file and our build script will be executed.
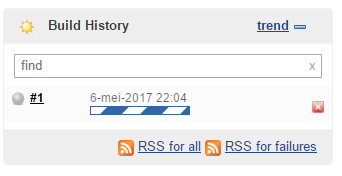
This is the moment we've been waiting for. Let's build the application for the first time. Open the item you've created for your application in Jenkins and click the Build Now menu item. A new build is added to the build history and Jenkins is busy running the build script we've just configured.
Depending on the machine you're using you could get some additional errors all due to configuration. A detailed report of the build can be found on the Console Output page of that build. If there are any errors you will find them there. These are the errors that I needed to fix to get my build to succeed :
Task failed with Start of process C:\Program Files (x86)\Jenkins\workspace\Application\tools\NuGet\NuGet.exe failed. The system cannot find the file specified
The error says it all, Fake can't find nuget.exe to restore the NuGet packages. Download it and put it in the correct path.
The reference assemblies for framework ".NETFramework,Version=v4.5.2" were not found. To resolve this, install the SDK or Targeting Pack for this framework version or retarget your application to a version of the framework for which you have the SDK or Targeting Pack installed. Note that assemblies will be resolved from the Global Assembly Cache (GAC) and will be used in place of reference assemblies. Therefore your assembly may not be correctly targeted for the framework you intend.
To be able to build a .Net 4.5.2 solution, that was the framework version in my case, you need to install the Microsoft .Net Framework 4.5.2 Developer Pack
Project file contains ToolsVersion="14.0". This toolset may be unknown or missing, in which case you may be able to resolve this by installing the appropriate version of MSBuild, or the build may have been forced to a particular ToolsVersion for policy reasons. Treating the project as if it had ToolsVersion="4.0". For more information, please see http://go.microsoft.com/fwlink/?LinkId=291333.
Install the latest version of MSBuild.
error MSB4019: The imported project "C:\Program Files (x86)\MSBuild\Microsoft\VisualStudio\v14.0\WebApplications\Microsoft.WebApplication.targets" was not found. Confirm that the path in the <Import> declaration is correct, and that the file exists on disk.
These are some files MSBuild needs to build a Web Application project. You could copy them over from a machine that has Visual Studio installed or there is a NuGet package which you can extract to get these files. Run the following command in a temporary folder to get these files and then copy them over to the correct path.
nuget install MSBuild.Microsoft.VisualStudio.Web.targets -Source %cd% -OutputDirectory packages
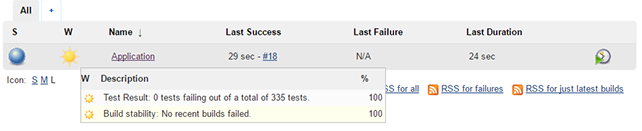
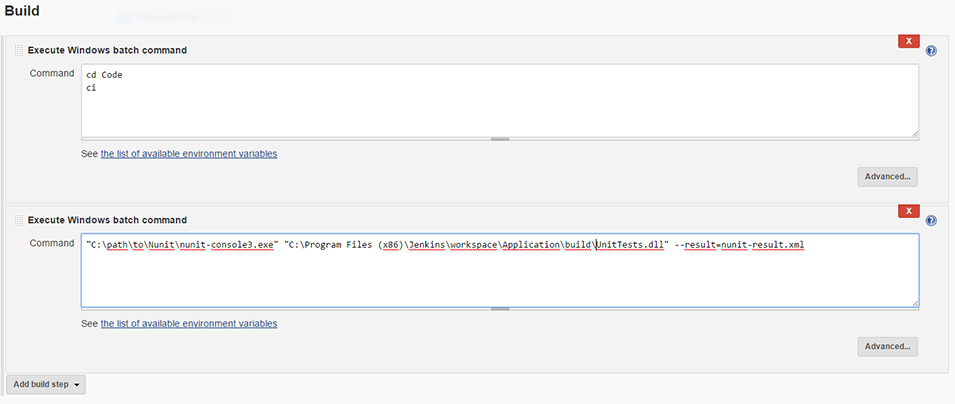
After fixing these errors I had a first successful build. It needed some elbow grease but we got there in the end. Last thing that I wanted to do was run the unit tests in the project. They are ran in the Fake build script but I wanted to run them via Jenkins. First make sure the NUnit plugin is installed. Then add a new build step to your build script which uses the NUnit executable to run the tests. In the Post-Build Actions add an action Publish NUnit test result report this will take the result xml of your nunit test runner and show them in the dashboard overview of Jenkins. Pretty neat!


Now we have a succeeding build script that runs our unit tests as you can see in the dashboard. There is penty of work to do, think about sending out a mail when a build fails or run the build every night. But I'm saving that for next time!